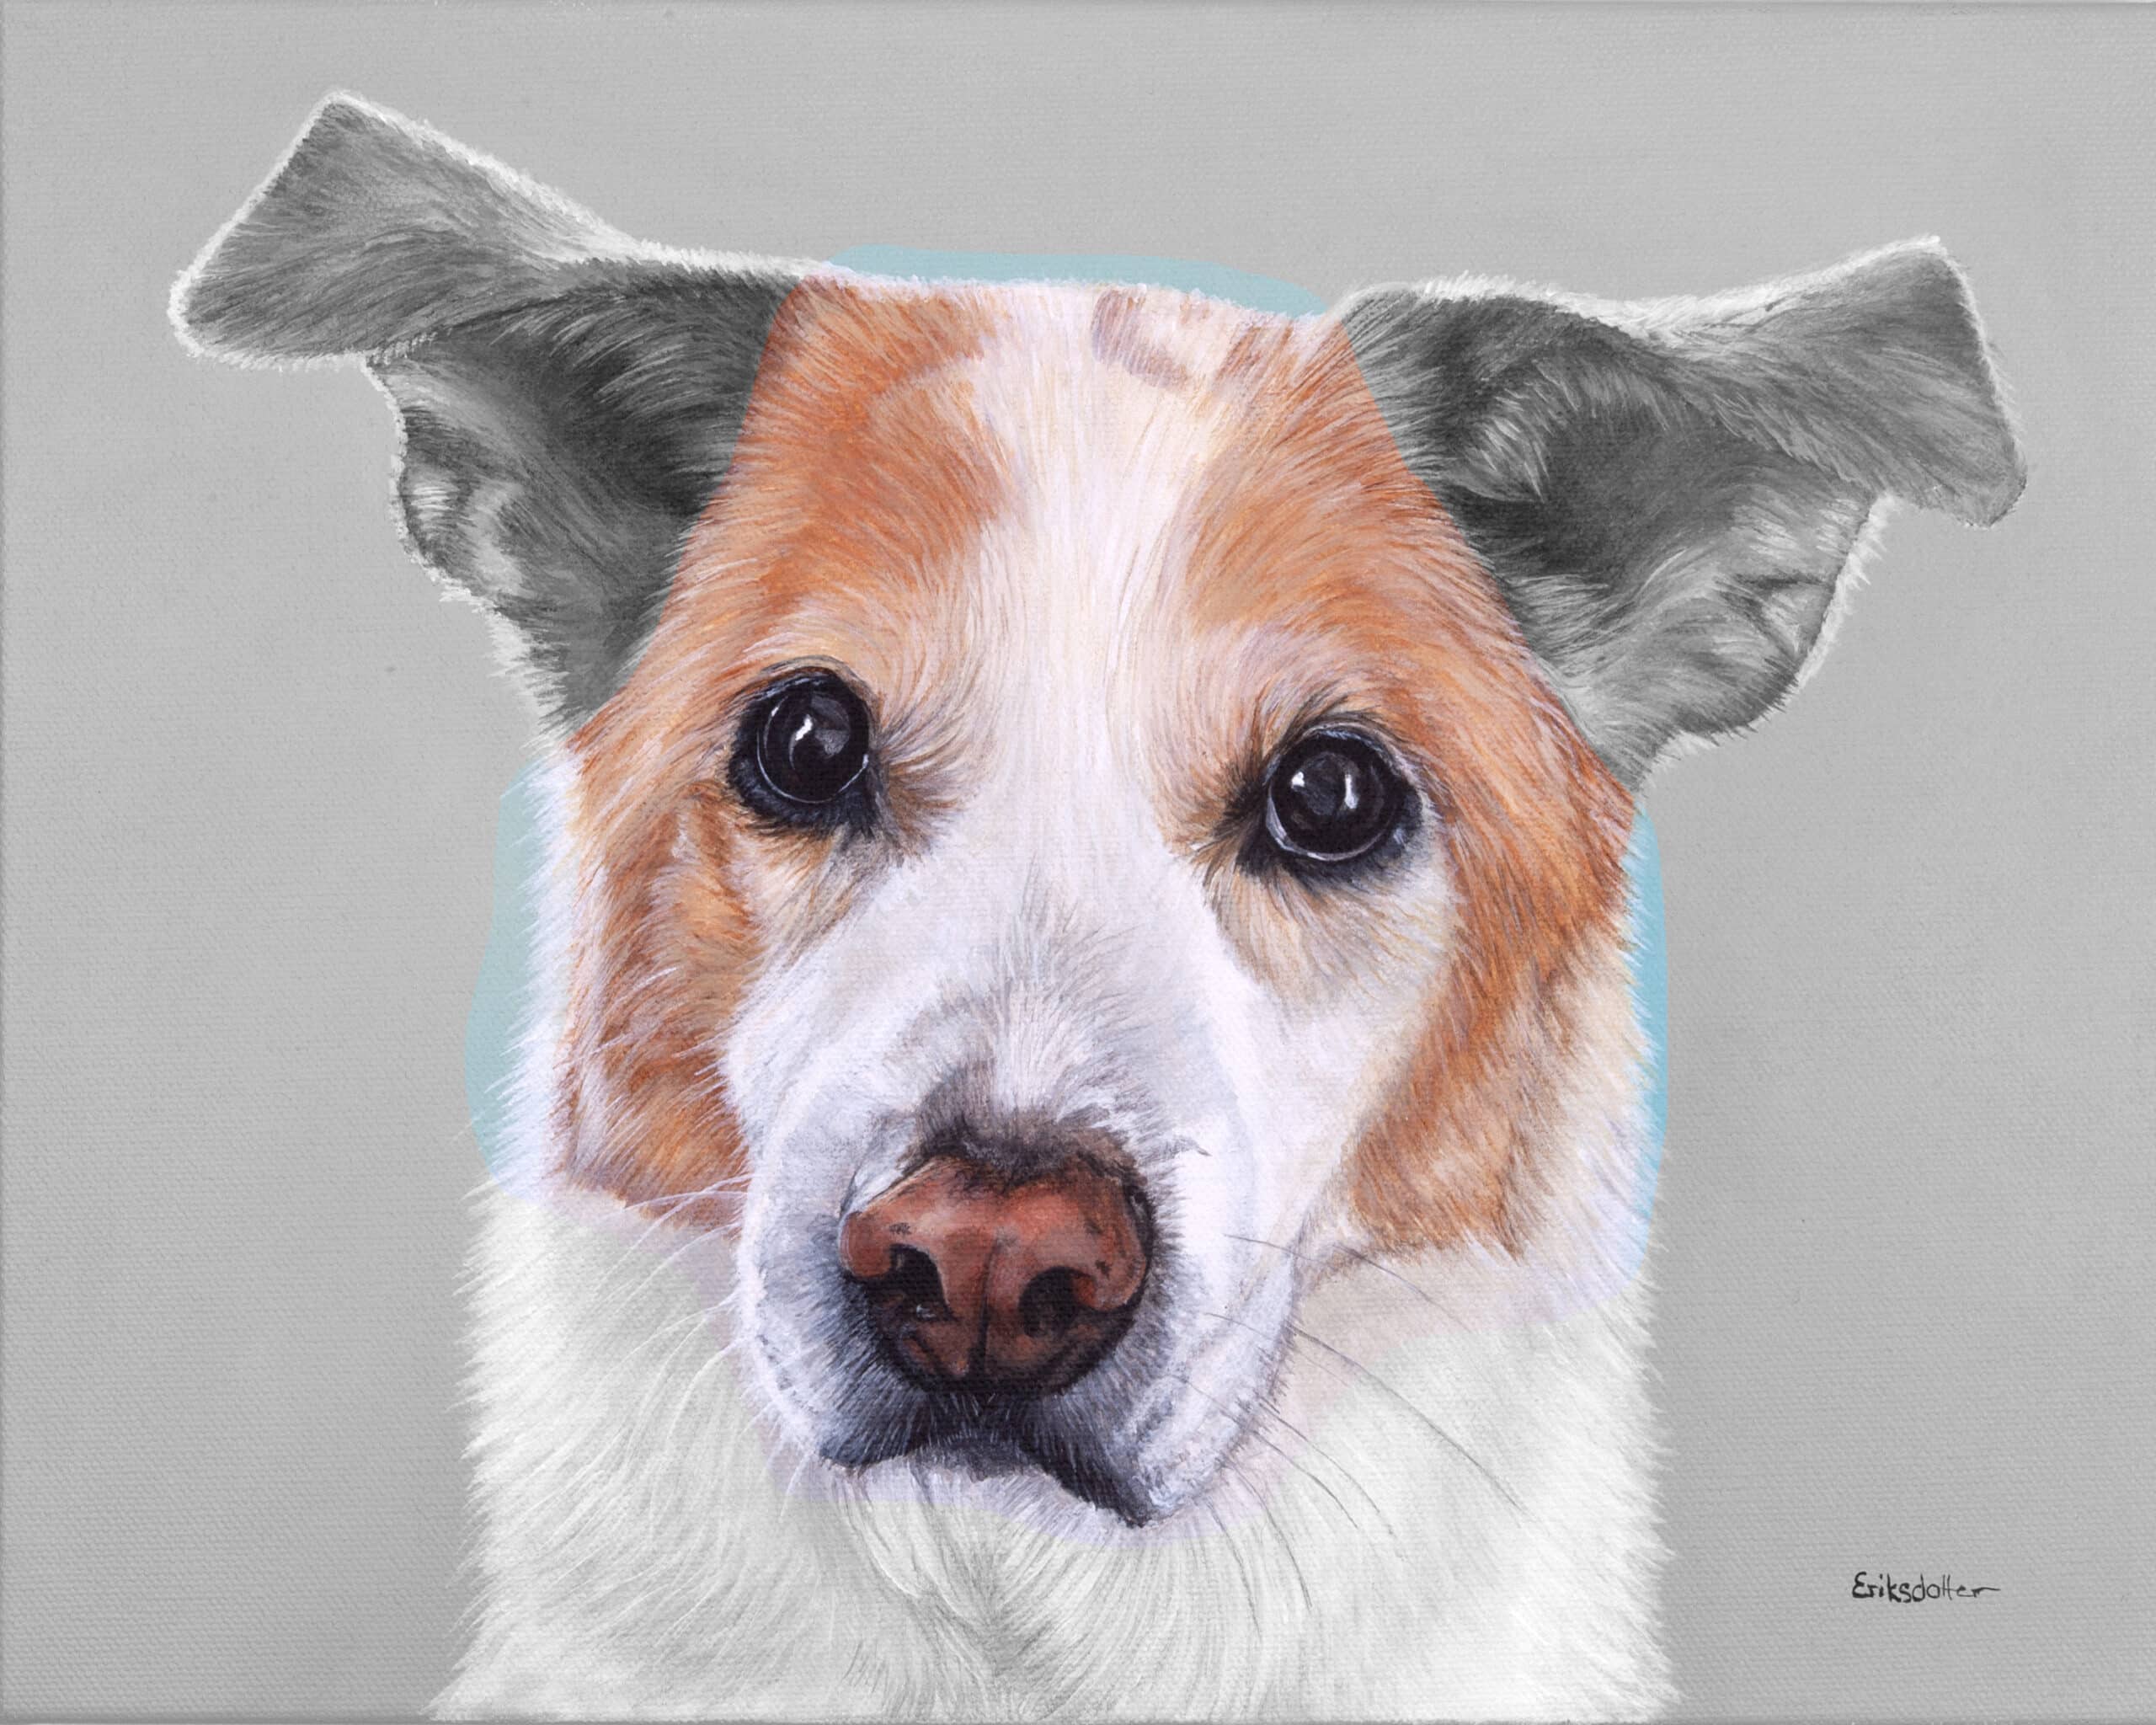
DAY 4: CHARLIE’S ADORABLE FACE

I’ve highlighted the area in the above photo we’re focusing on – the FACE!
Remember you have access to the full reference photo of the painting (under Preparing for Success) if you prefer to use it. Now let’s move on to some guiding steps (remember, progress over perfection!).
INSTRUCTIONS:

Read all the steps first, then come back to step 1.
To keep it simple, use the following colors: Raw Sienna, Unbleached Titanium, Titanium White, and Neutral Gray no. 5 (with a little bit of Raw Umber if you need it).
We’re merging the main features together by painting the face. Instead of painting the face willy-nilly, there’s a process for this too.
Tip! Be mindful when you’re applying your paint to the face. It’s better to go for a blend that’s somewhere in the middle first, then go back for a second layer and add some darker hues for shading and lighter hues for some highlights if you’re not used to blending on the go.
1. Starting with the left eye, paint more of the surrounding area.
2. Then move on to the right eye and paint more of the surrounding area.
3. Now move on to painting the white part between his eyes. Make sure you clean off your brush before blending with Titanium White and Neutral Gray no. 5.
It’s like we’ve added an eye mask on Charlie.
4. Move on to the surrounding area of his nose, and the white section that lends itself all the way to the forehead. Go ahead and paint all of this while you have a good light-gray blend on your palette.
5. Now continue painting the forehead by blending Raw Sienna with Unbleached Titanium. For the darker hues, add in a little bit of Raw Umber just for a slightly deeper tone. Blend in a tiny bit of Titanium White when you want some lighter strands of hair. Connect the forehead to the ears.
When you’re painting fur, always be mindful of the direction the hair falls in. I often lay down a foundation of paint and then go back over it in my coming layers by painting near individual strands of hair. Even when I apply the first layer, I paint in the direction of how the fur is growing. Every brushstroke is done with deliberate intention.
Charlie’s eye mask, muzzle and forehead is now done. One brushstroke at a time, we’re allowing Charlie to come alive on our canvas.
6. With the same blend you used for the forehead, continue down the sides of Charlie’s face (cheeks and jaw) – everything that has this Raw Sienna/Unbleached Titanium blend.
7. Note where there are shaded areas, where it’s merging into a whiter hue or where there’s highlights. Always pay attention to the variation of color hues and blend as you go – do you need a little bit more browner tones? Maybe a clean brush before you add the whiter areas?
REVIEW:
Take a step back and look at your painting. Can you believe you painted this in just 4 days? You’re amazing! If it doesn’t look like a masterpiece, so what? Does it resemble a dog? Does it look a bit like Charlie? GREAT! You’re doing great my friend.
Look out for tomorrow’s email for your next section when we’re going to paint his body and whiskers.
xo,
Erica