DAY 2: BOOP-ABLE NOSE
We’re going to paint Charlie’s nose and make it extra boop-able today.
INSTRUCTIONS:

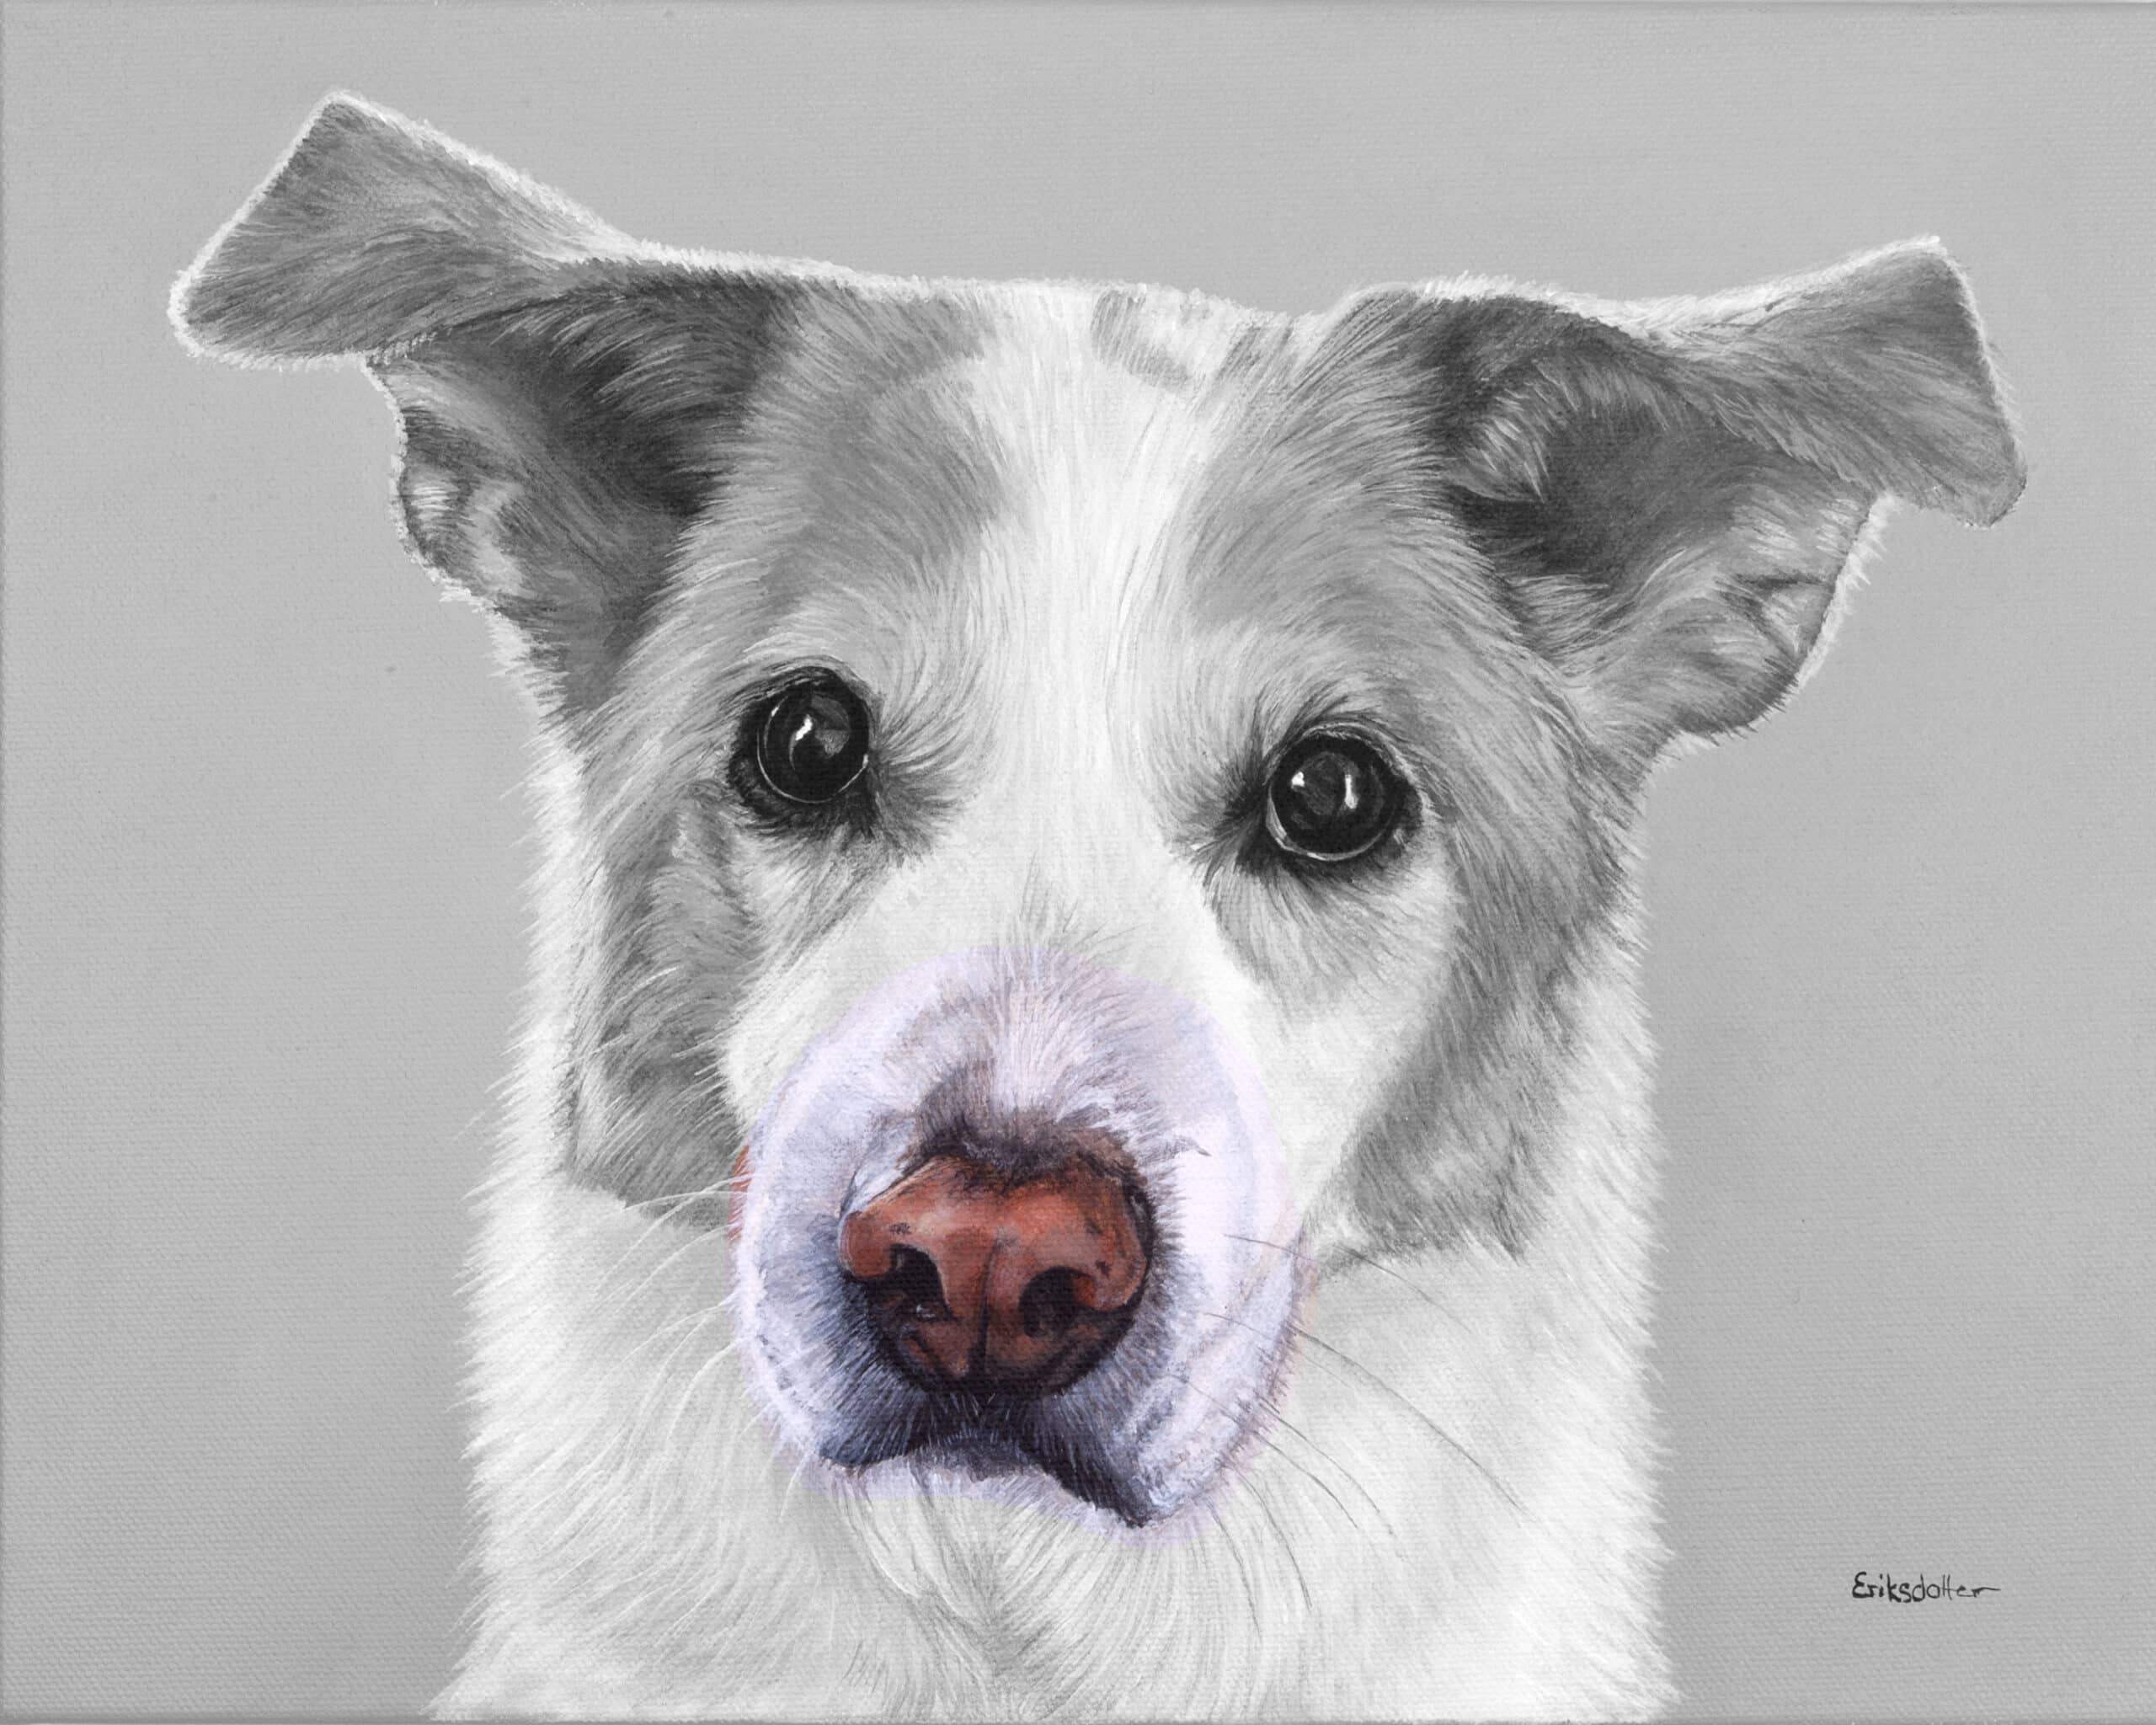
I’ve highlighted the area in the above photo we’re focusing on. If it’s easier for you to use your downloadable reference photos, please do so! Now let’s move on to some guiding steps (remember, progress over perfection!)
To keep it simply, use the following colors: Mars Black, Raw Umber, Titanium White, and Unbleached Titanium. Red Oxide is optional.
Read all the steps first, then come back to step 1.
1. I always start painting the depth of the nostrils with a darker tone, like Mars Black, first. That way I know where they are.
2. Then I continue with the outline of the nose. (Charlie’s nose isn’t a straightforward round nose. It’s complex with a brown-reddish nose and some colored skin above it. Just focus on the part that is brown-reddish for now.) Pay attention to the folds where the sketch can quickly be overpainted, and the philtrum (the line down the middle separating the nostrils).
This step of creating an outline with a black paint is a good way to ease your way into painting a nose before filling it in with a different blend. It also helps you paint ‘within the lines’.
3. Now, fill in the nose (the folds and the nose pad) by blending Raw Umber with Red Oxide (if you have it) to create darker and mid-tone colors by adding small amounts of Mars Black. To create those lighter areas, mix in Unbleached Titanium with your Raw Umber and Red Oxide.
Your nose now have a completed layer of paint.
The real life Charlie had some darker spots on his nose, which I’ve included in my painting. You don’t have to do so.
Tip! Sometimes I add more highlights to the nose to create a wet nose by adding tiny dots of a lighter blend (like Unbleached Titanium and Red Oxide in this case) on the center of the nose. I sometimes dab those dots with my finger so they don’t look ‘too perfect’.
4. After the first layer of the nose (which will look a bit flat for now), continue with the surrounding area of the nose, particularly the darker area on the top part of the nose (blend black and brown for some areas, and apply a whitish gray on the left side). Some dogs will have more or less of this. Don’t worry about the white and black fur area for now.
You may want to add another layer of the nose now before moving on to the mouth.
5. Now that your nose is done, we’re moving on to the mouth. With a closed mouth like this, I start with the bottom half of the nose and the darker paint closest to the nose, working my way towards the upper lip.
6. See how his upper lip is almost all black with some tiny strands of gray? Paint this now.
7. Continue painting the dark gray fur around the nose.
8. Now blend a lighter gray, near white, color and apply it to the rest of those surrounding nose area. Add a few darker-to-lighter gray strands of hair like your reference photo.
9. Now add some darker gray color to the bottom lip.
You can leave the whiskers for later once you’ve painted the rest of the face and body so you don’t paint over them.
REVIEW:
Now take a look at the nose, mouth and the surrounding areas. Does it need another layer? A little tweak here and there?
Did you show up for your art today? Did you tap into your creative energy? You’re amazing! There’s no such thing as a perfect painting. All is well and you’re on time.
Look out for tomorrow’s email for your next section.
xo,
Erica