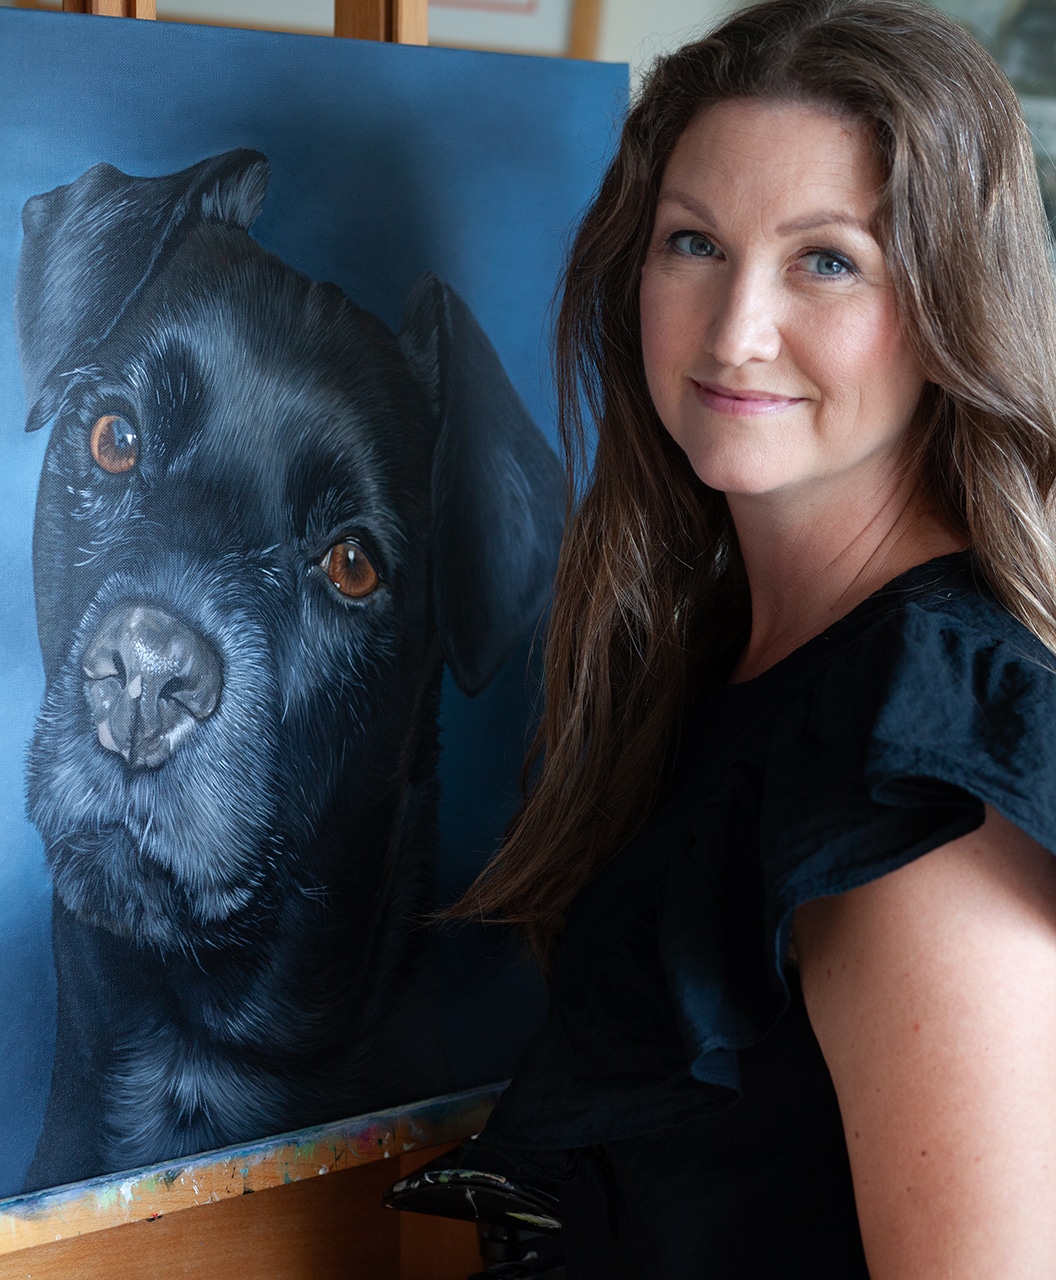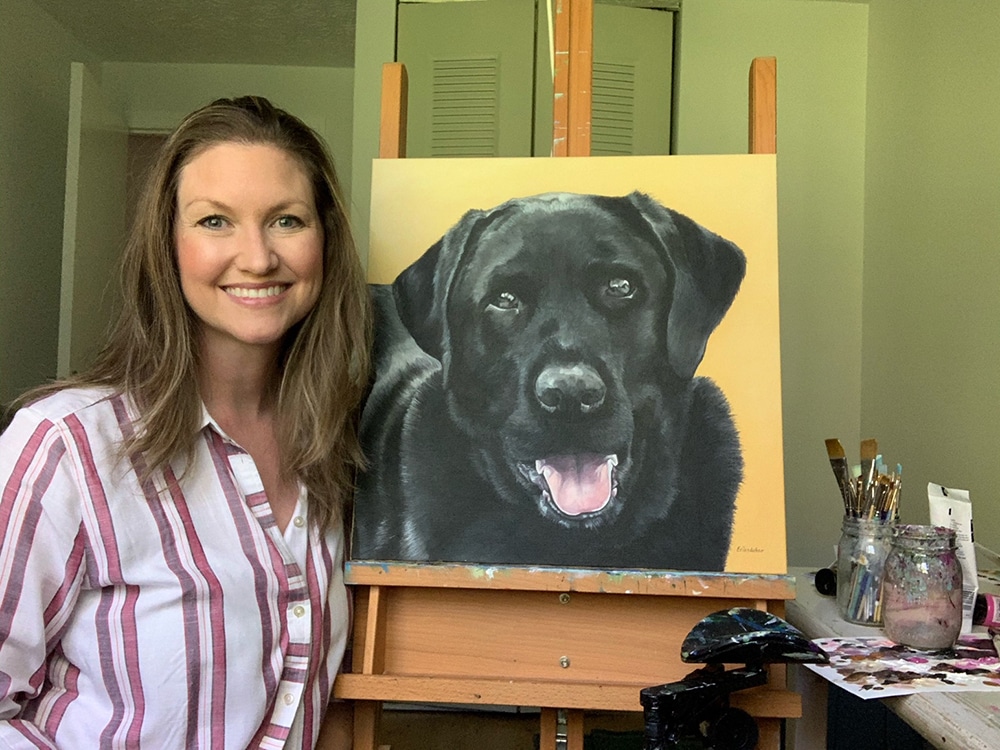
I love taking my clients and followers, behind the scenes of how each pet comes alive on canvas. Many share how much they enjoy following along in real time via Instagram or Facebook and others prefer the monthly inspirational email (sign up for a chance to win $100 studio credit in our monthly drawing) for a quick summary for a few links to deep dive.
Check out the finished painting and or learn more about how to honor your own pet.
Come with me as we take a look at how Loki, the black lab I recently finished, came alive on canvas. This darling black lab, named Loki, was a treasured family dog. The gift is a surprise for Christmas from one of the sons and his wife to his parents. Loki lived a joyful life for 12 years and passed away last year, 2018. The painting recently arrived to my clients and they shared how much they love it and can’t wait to surprise the parents.
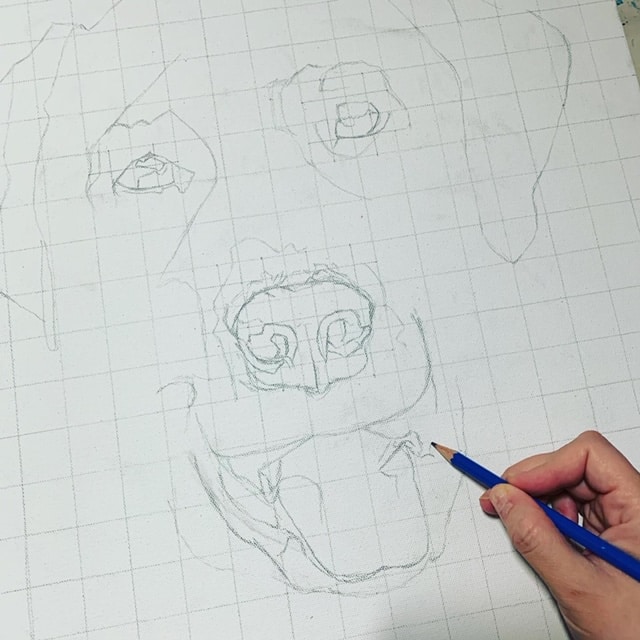
When I sit and stare at the blank canvas, which for me is the hardest part of the every painting – starting – I already see the finished portrait in my mind’s eye. I may not know the background color but I see the painting clear as day in my mind’s eye and the art, for me, is to fully allow the painting to come through my heart out to the brush.
Thankfully, I’ve got amazing clients who always cheer me on. Even after the initial sketching phase (which takes me several hours) of Loki, my client said “omg that is sooo loki already!” And as a commission artist, it doesn’t get better than that!
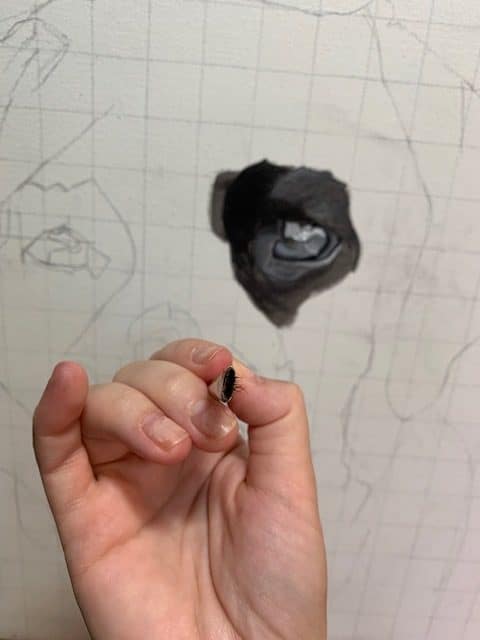
Not the neatest of brushes, in fact, this is pretty sad. Poor guy needs to retire for good. It’s still working though for getting that rough first layer down when the brush-to-canvas isn’t a smooth experience.
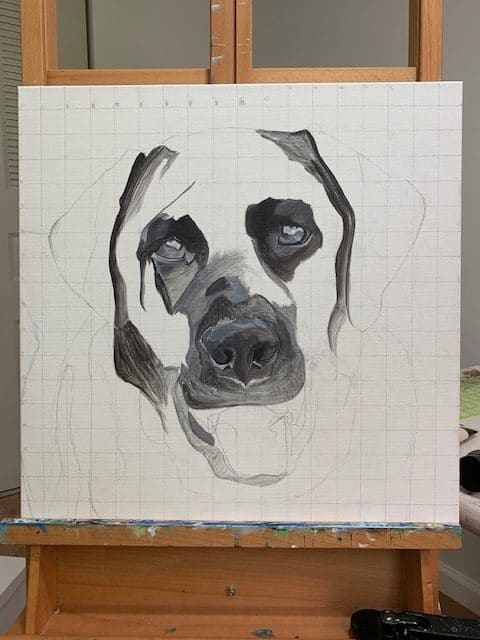
The first layer is never pretty. I share that with my clients so they know what to anticipate. Thankfully (or hopefully) they’ve seen plenty of behind-the-scenes photos and videos of my painting process already. It is, however, fantastic to look back at photos like this once you have the finished painting done and see how each layer has a purpose as it builds the painting.
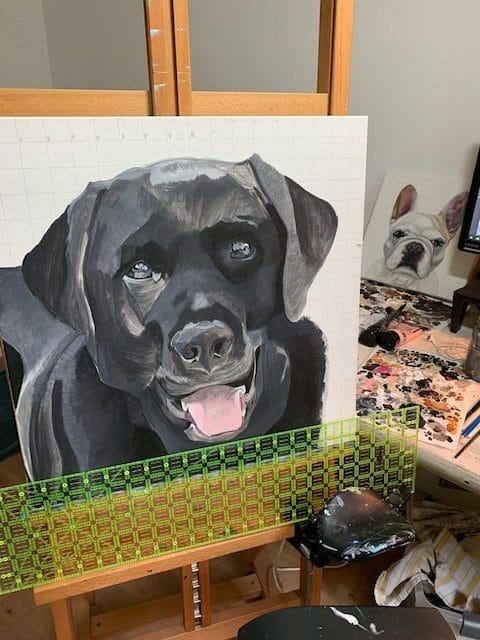
Look at the image above. Can you tell the difference between the right eye area from the left?
The right eye has a second layer to it.
I didn’t have great quality photos to go by for Loki, and the main photo I used was from an old flip phone. Ideally, the higher resolution the better as it shows more details, and yet, they always seem to work out – though with even more effort on my end.
I sigh a little of relief after the sketching and the first layer is done knowing “I got this”. Even after over 120 commissions, the beginning is always the hardest. But we got this folks! We got this!
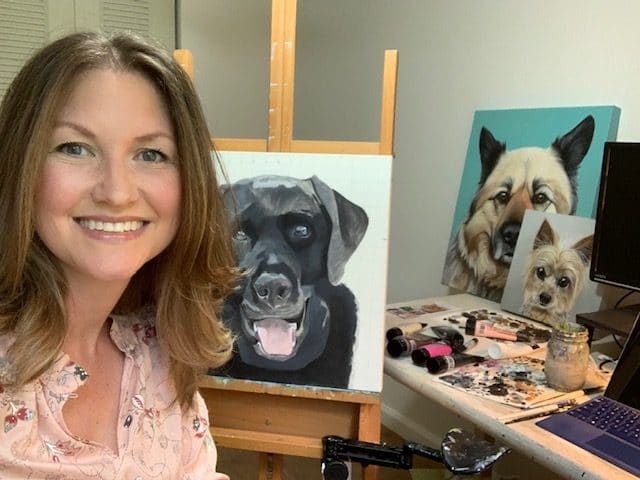
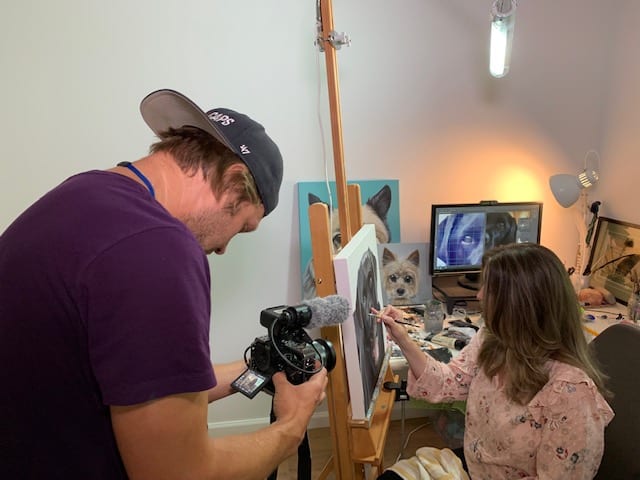
The gang’s all here! I was grateful to have more than one portrait in the studio as yet another TV crew stopped by for an interview. Loki, Ernie and my gratitude portrait, Mr. Chunky, supported me through this GLOBAL interview with Voice of America. Fingers crossed it turned out well. I’m not sure when it will air, but I’ll update this post when it does.
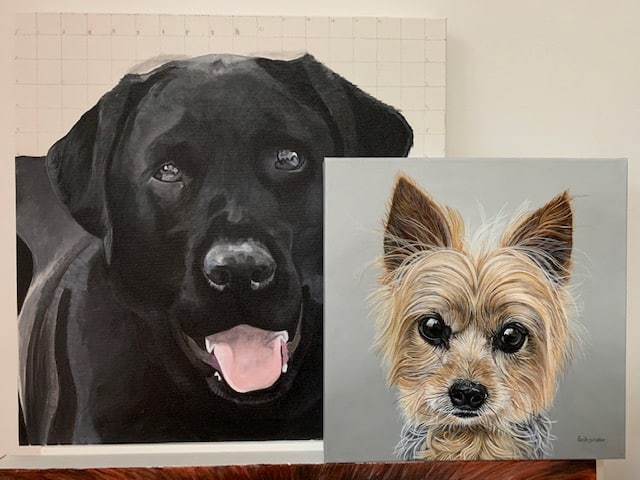
These two are chilling together in the studio after I’ve spent hours on Loki’s nose. I was finally happy with the many millimeter adjustments I made. And the adjustments will continue as I get the rest of the portrait were I want it so the low-lights and the high-lights work as a whole.
Leila’s Pet Portrait was finished in this photo (I’ll update this post with a link to her behind-the-scenes blog post when I have it done) but I still needed to varnish and get it ready to hang (put a wire on the back and sign it) plus photograph it before packaging it and shipping her home.
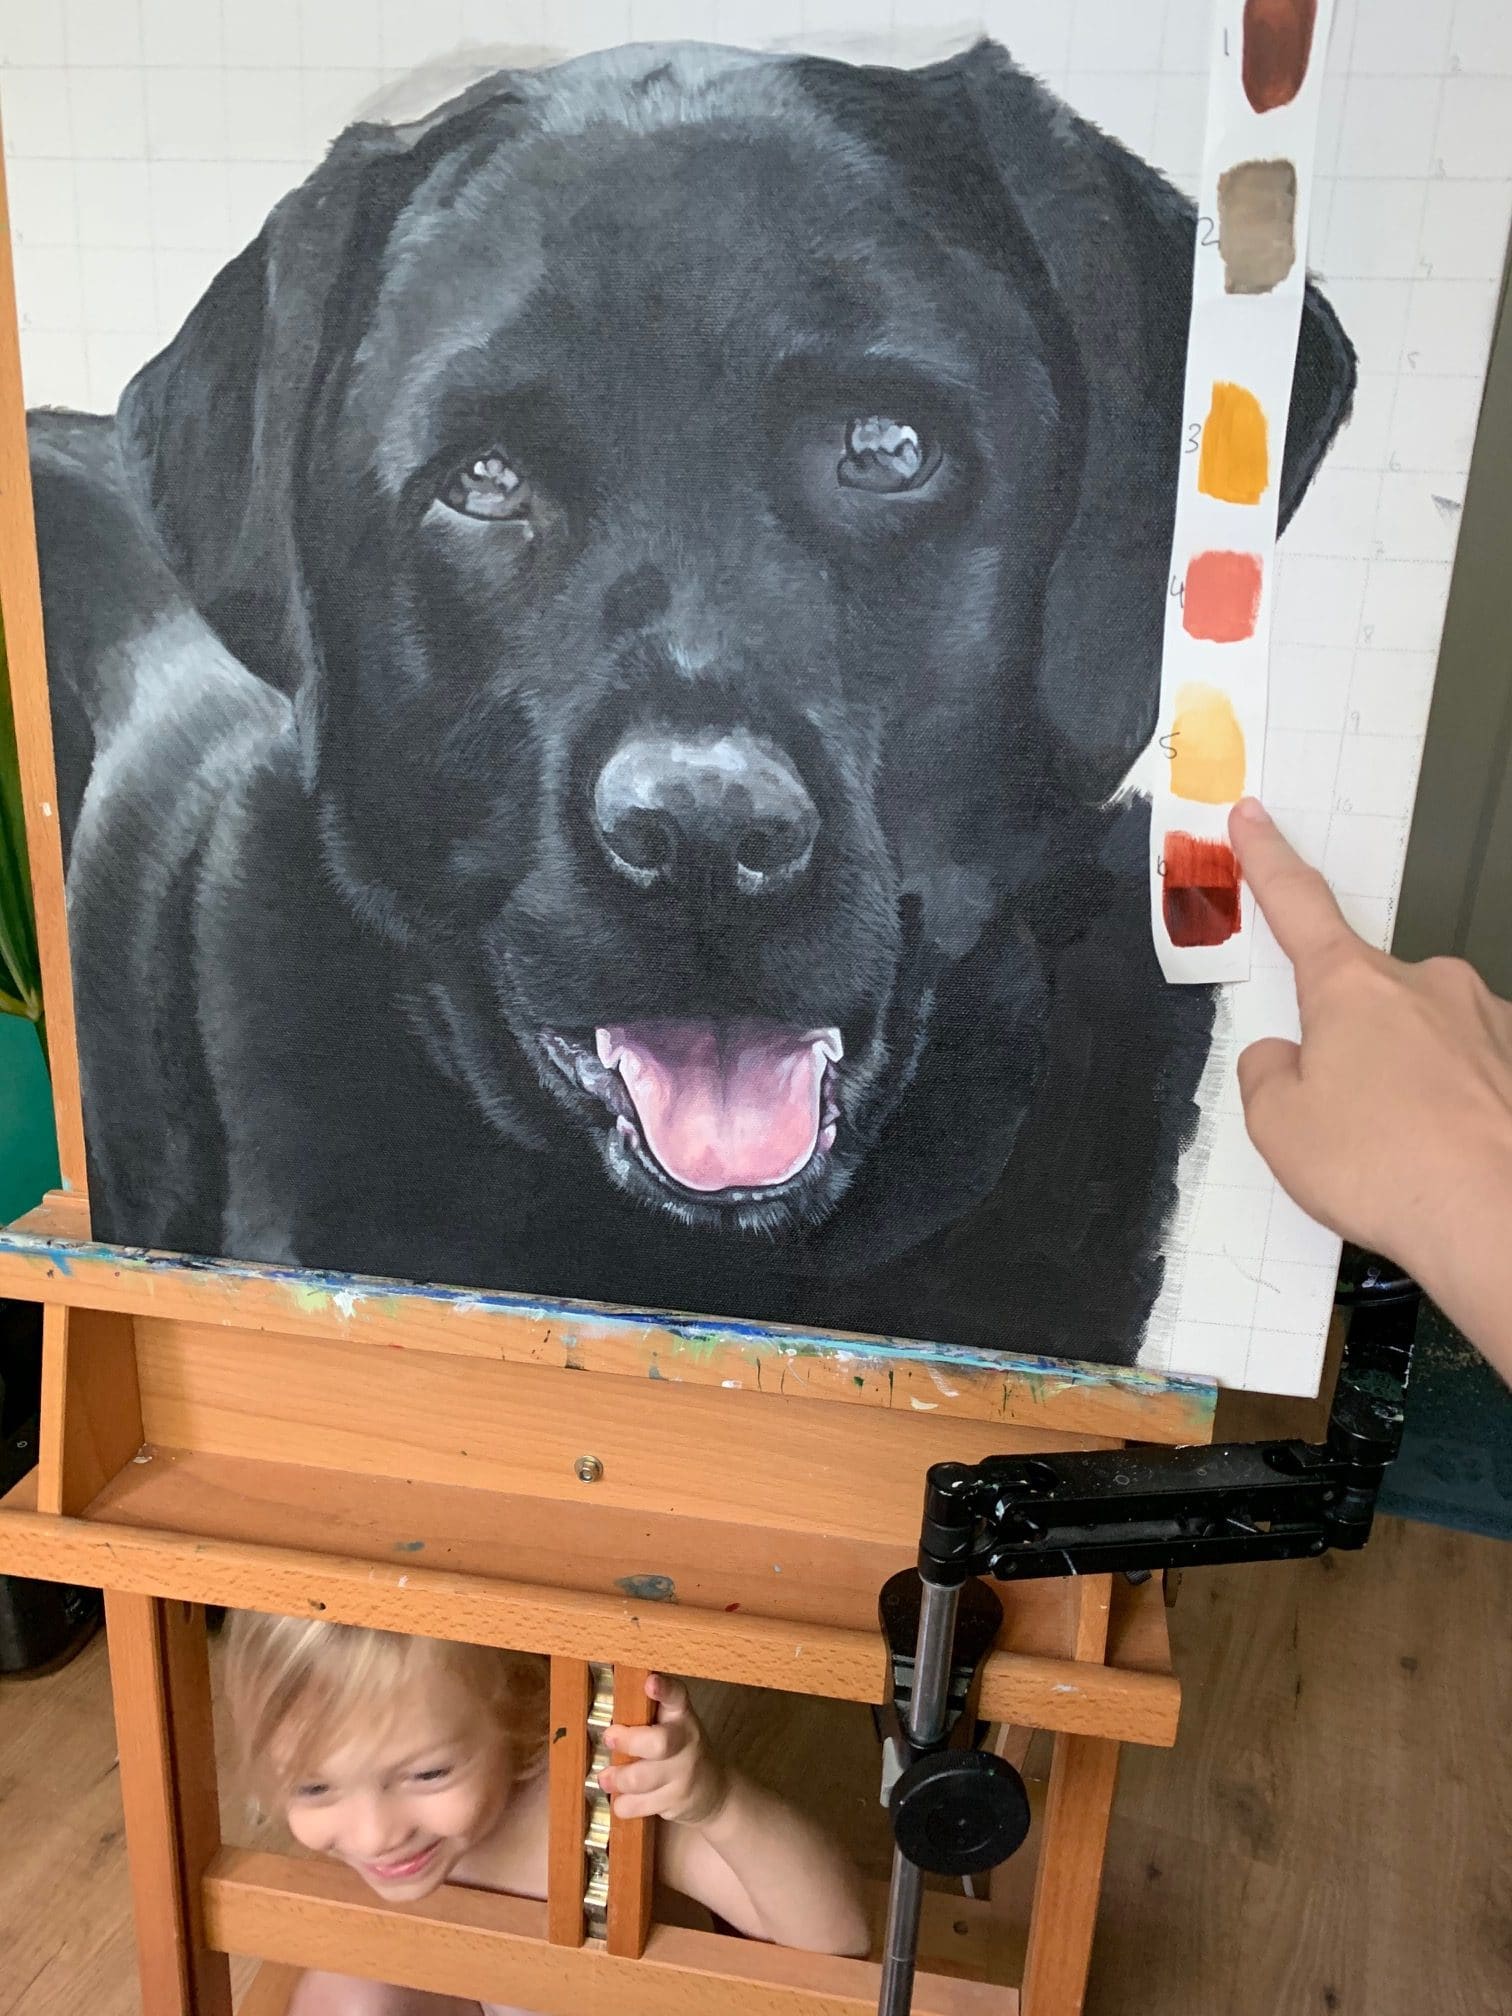
It’s VOTING TIME! After adding some details I was finally ready to add a background color. We (the client and I) felt we had several great color choices so we wanted to hear what you felt. What background color do you think Loki should have?
The client and I had discussed these 6 colors as great options. Since it’s a gift they’ll have to consider the home it’s going into, the recipients’ taste as well as their own preference. Not to mention what color best represented Loki’s essence and best highlighted his fur color. But that’s why I’m here to guide them through and why sometimes putting it to a vote is fun and helpful.
Many votes came in and throughout the voting #5 was in the lead. After it was all said and done, we also agreed it was the best choice.
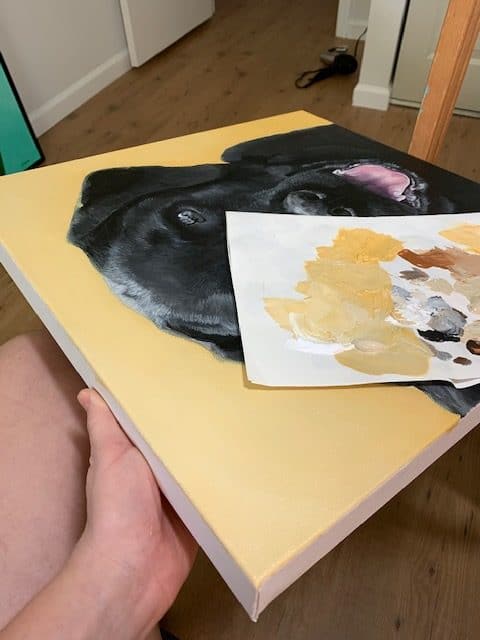
Woohoo! Loki finally got his beautiful background. There’s a stronger yellow close to the outline of Loki’s face and to the bottom right, to create a gradient look and an interest to the background without distracting or taking away from the portrait. You can see the palette of colors that made up this background color.
At this point in the process, Loki STILL wasn’t done. The ears and his body still needed lots of love but I love how he turned out. What a beautiful way to honor this family dog that meant so much. Now he’ll live on for generations to come.
Check out this blog post with the finished photos or view more finished pet portraits in the gallery.
If you’re interested in honoring your pet or giving a pet portrait as a gift, click here for more information.

